
File manager
Browse, edit, upload, archive and delete the files of your server from the browser.
Files in the server menu is a file manager for everything on your server. For large uploads or many files at once, use SFTP instead.
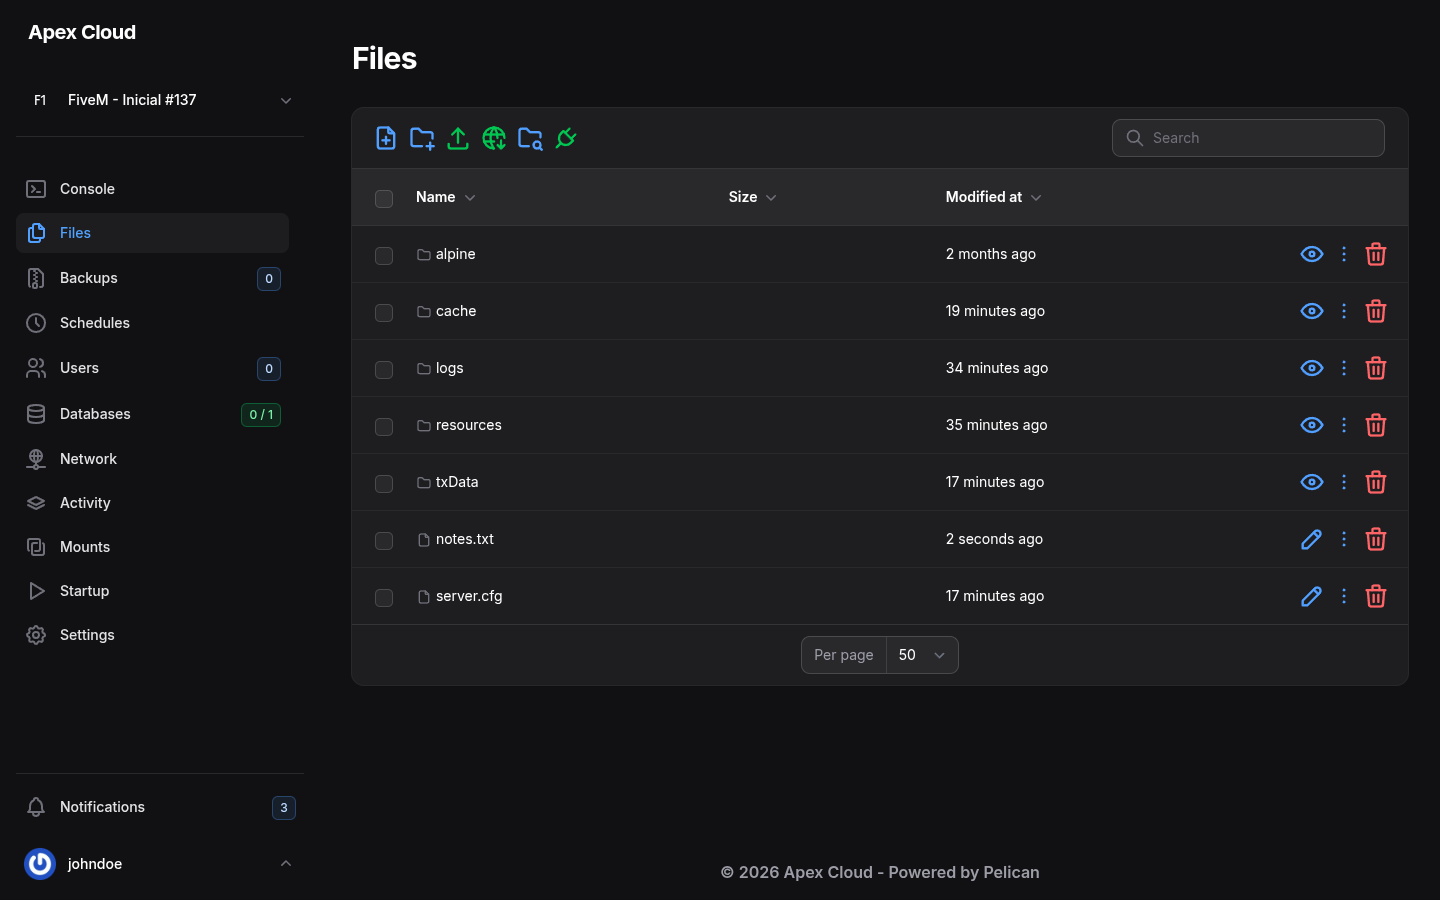
The toolbar
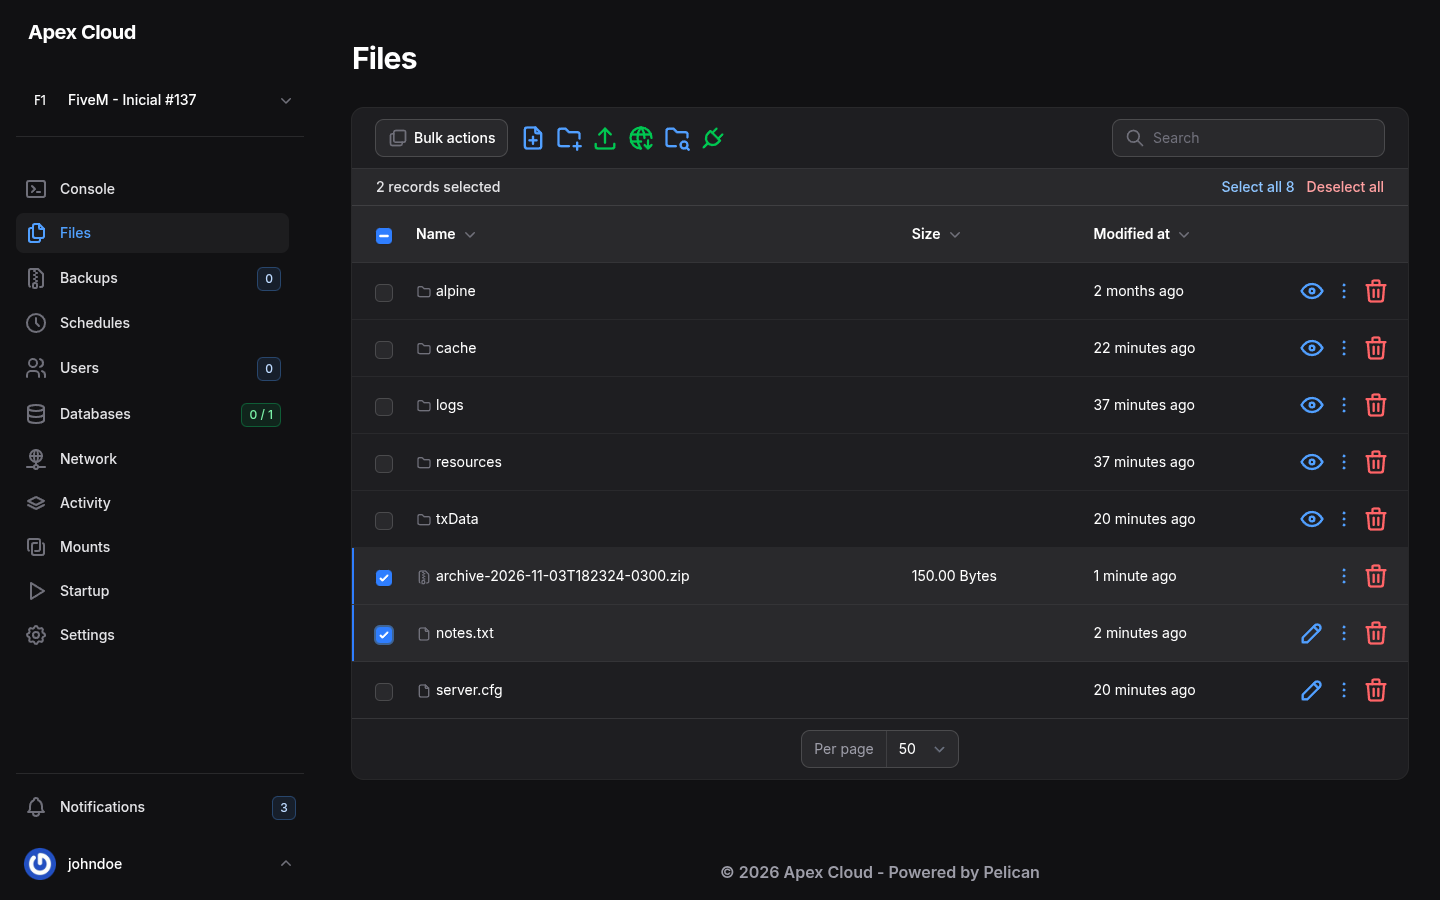
The icons above the list are, from left to right:
| Icon | Name | What it does |
|---|---|---|
| Blue page with a plus | New file | Creates a file and lets you type its content |
| Blue folder with a plus | New folder | Creates a folder |
| Green arrow up | Upload | Uploads files from your computer |
| Green globe | Upload from URL | Makes the server download a file from a link |
| Blue folder with a magnifier | Nested Search | Searches inside the subfolders |
| Green plug | Open current folder in SFTP | Opens the folder in your SFTP program, see SFTP |
The Search box on the right filters the list. The list has three columns, Name, Size and Modified at, and you can sort by each one. Select a folder (the eye icon) to open it.
Create a file
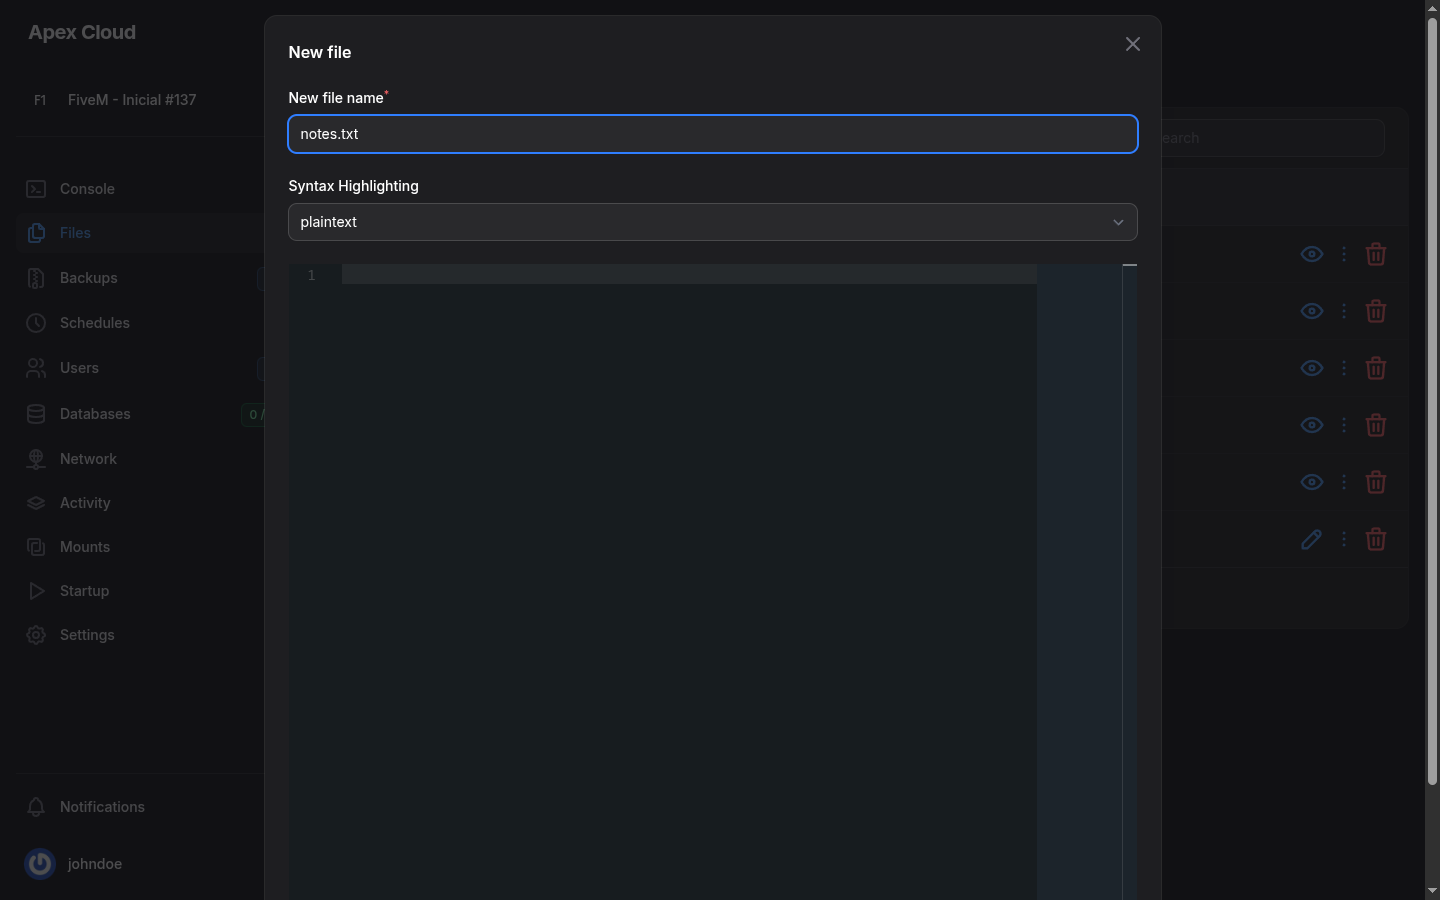
Select New file
Select the New file icon.
Name it and write the content
Type the New file name (for example notes.txt), choose a Syntax Highlighting language if you want one (the default is plaintext) and type the content in the editor.
Create
Select Create at the bottom of the dialog. The file appears in the current folder.
Edit a file
Select the pencil icon at the end of the row of a file. The editor opens on its own page with the file path at the top.
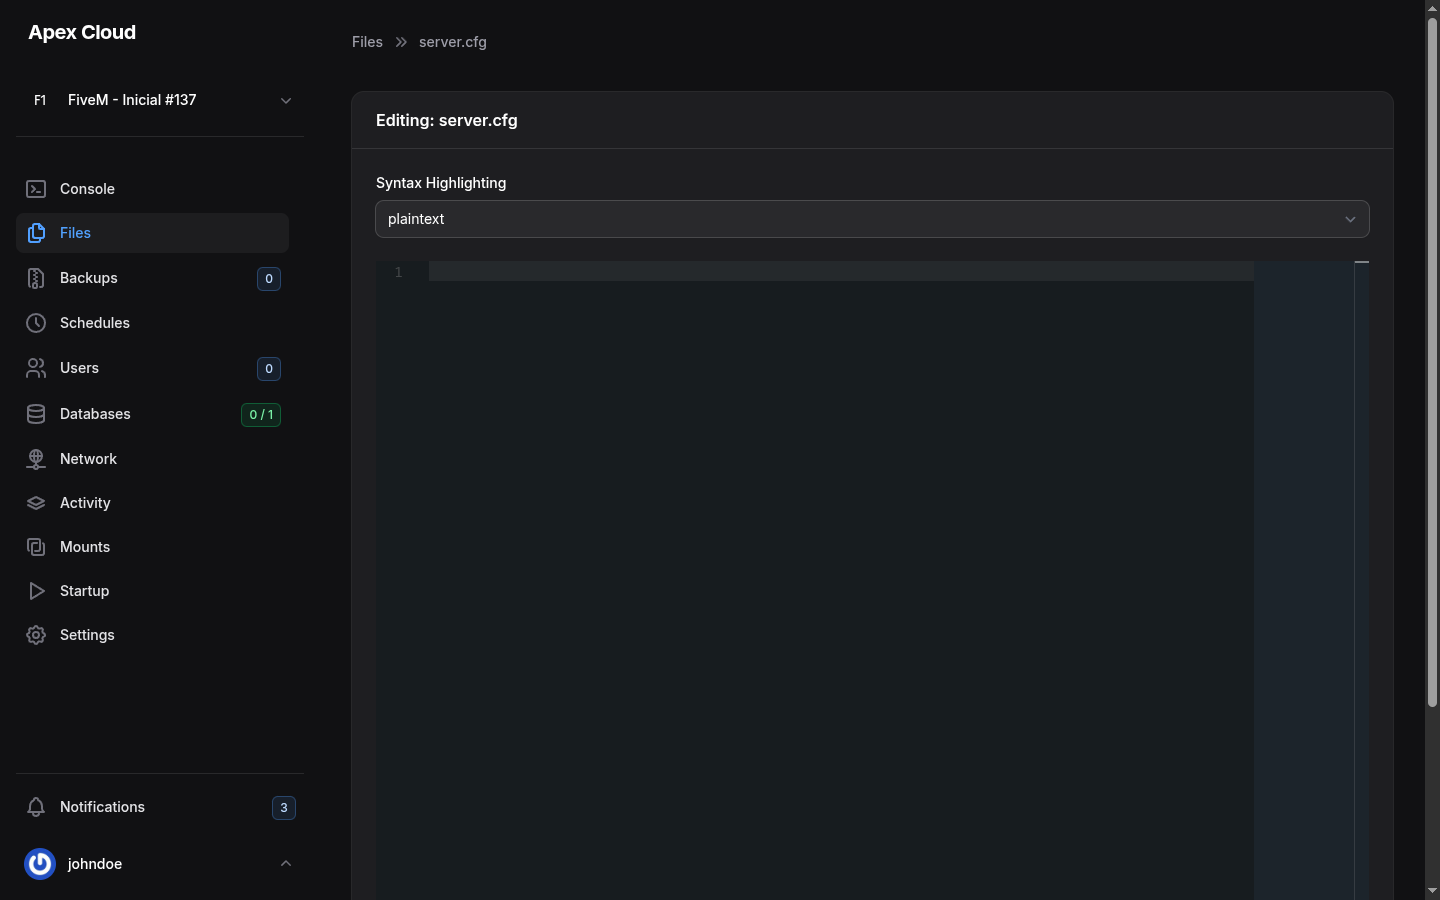
At the bottom you have Save & Close, Save and Cancel. Changes only reach the server when you save, and most games read their configuration files only on start, so restart the server afterwards, see Console.
Upload files
Select the Upload icon and choose the files on your computer. Folders and large amounts of files are easier over SFTP.
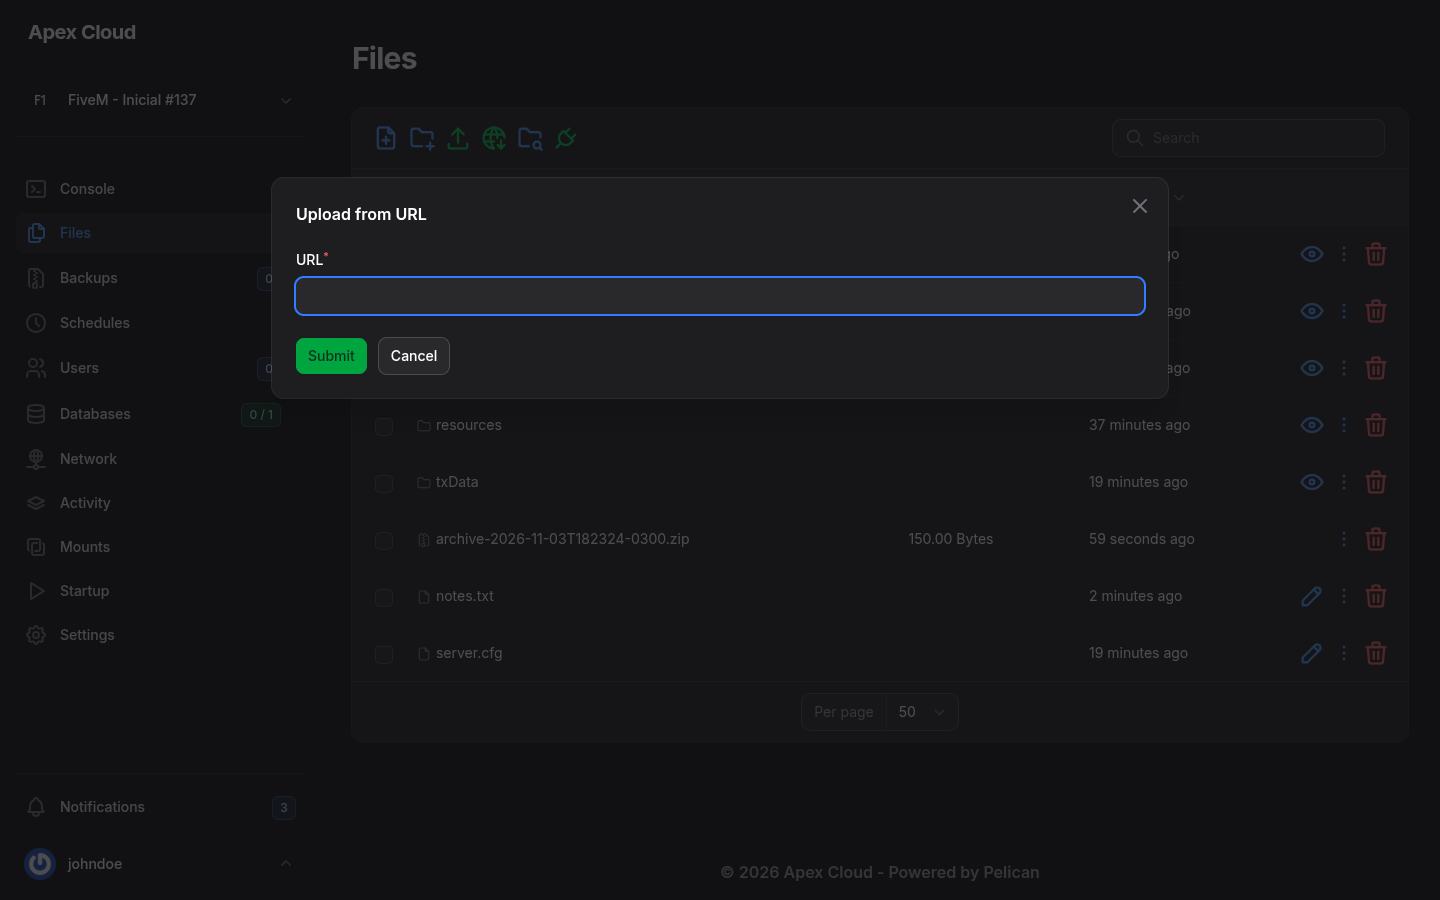
To fetch a file directly to the server, select Upload from URL, paste the link in URL and select Submit.
The row menu
Select the three dots at the end of a row to open the menu.
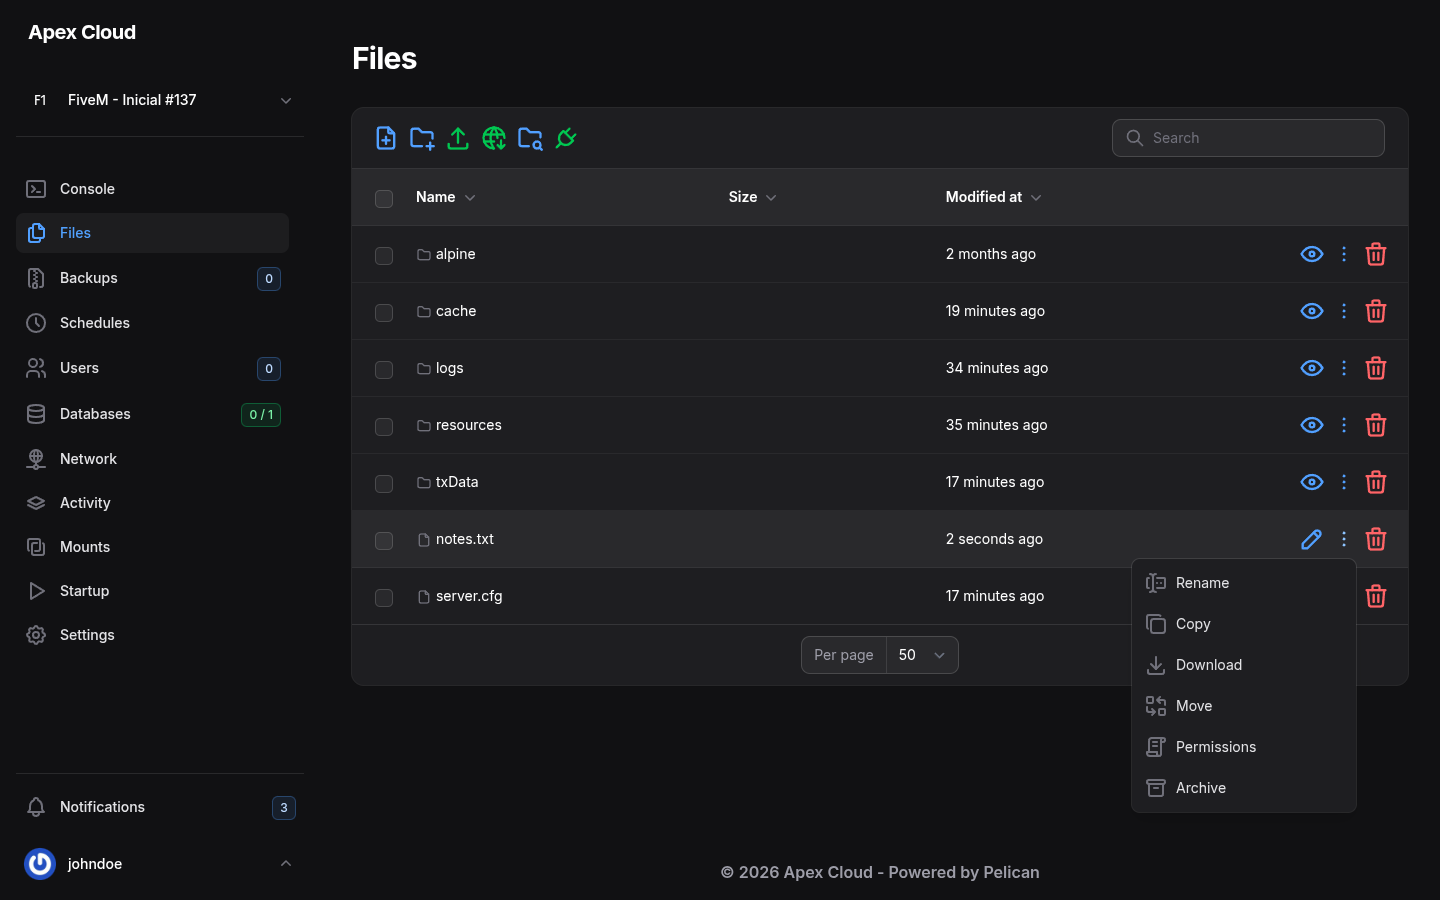
| Option | Files | Folders | What it does |
|---|---|---|---|
| Rename | yes | yes | Changes the name |
| Copy | yes | no | Copies the file |
| Download | yes | no | Downloads the file to your computer |
| Move | yes | yes | Moves it to another folder |
| Permissions | yes | yes | Changes the file mode, see below |
| Archive | yes | yes | Packs it into an archive |
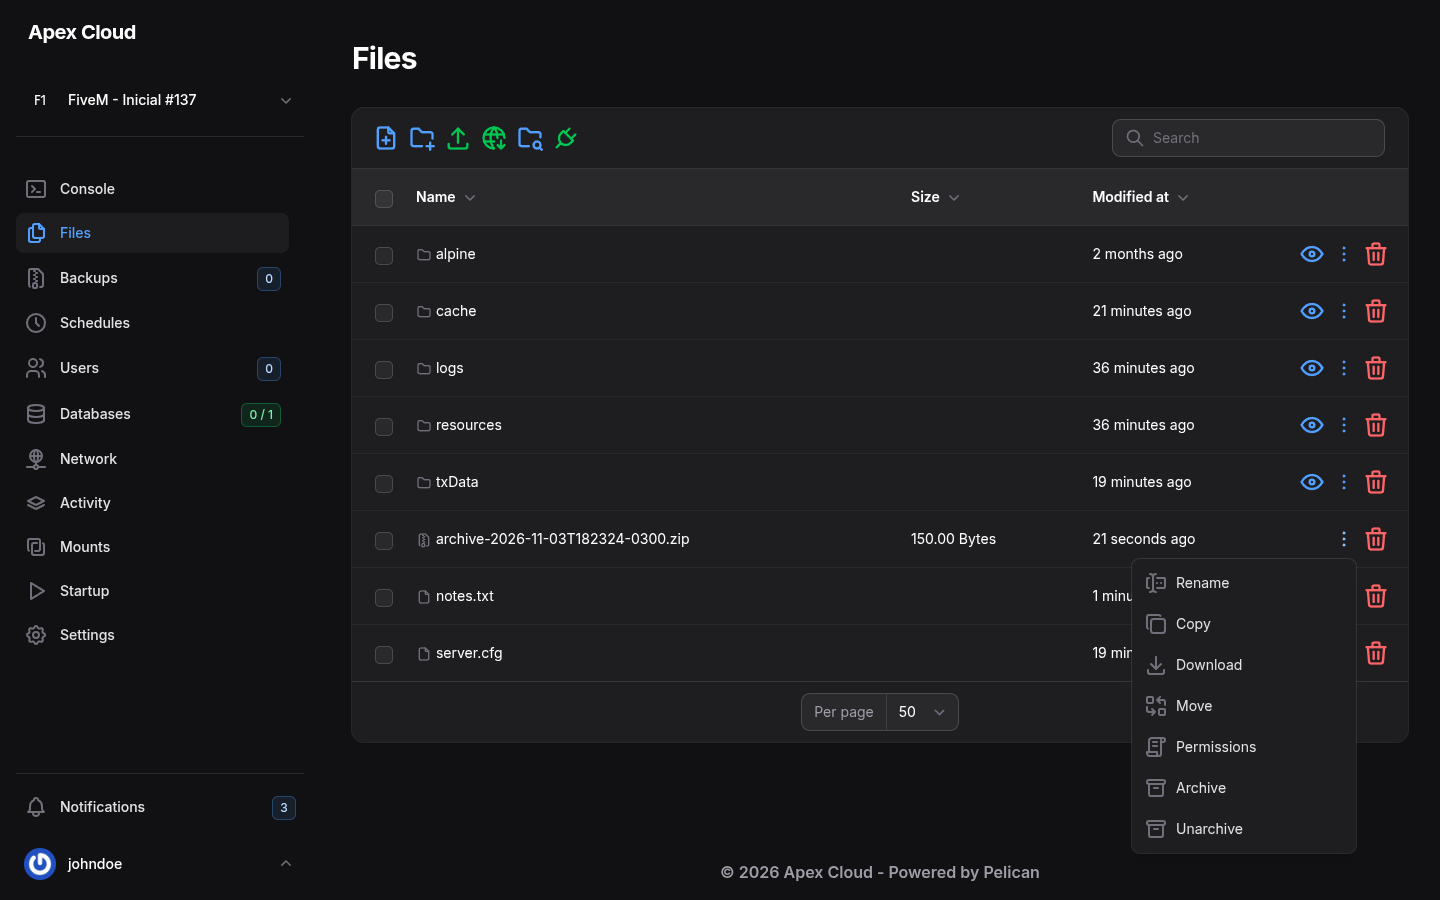
| Unarchive | archives only | Extracts an archive |
The red trash icon deletes the item.
Archive and unarchive
Archive
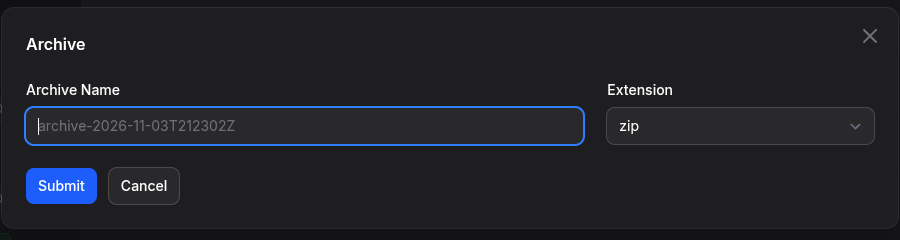
Open the row menu and select Archive. Choose the Archive Name (the default is archive- followed by the date and time) and the Extension: tar.gz, zip, tar.bz2 or tar.xz. Select Submit.
Unarchive
An archive file gets one more option in its row menu, Unarchive. It extracts the content into the current folder.
Permissions
Permissions opens a dialog with the Linux file mode, split into Owner, Group and Public, each with Read, Write and Execute. Select all ticks a whole row. Select Submit to apply.
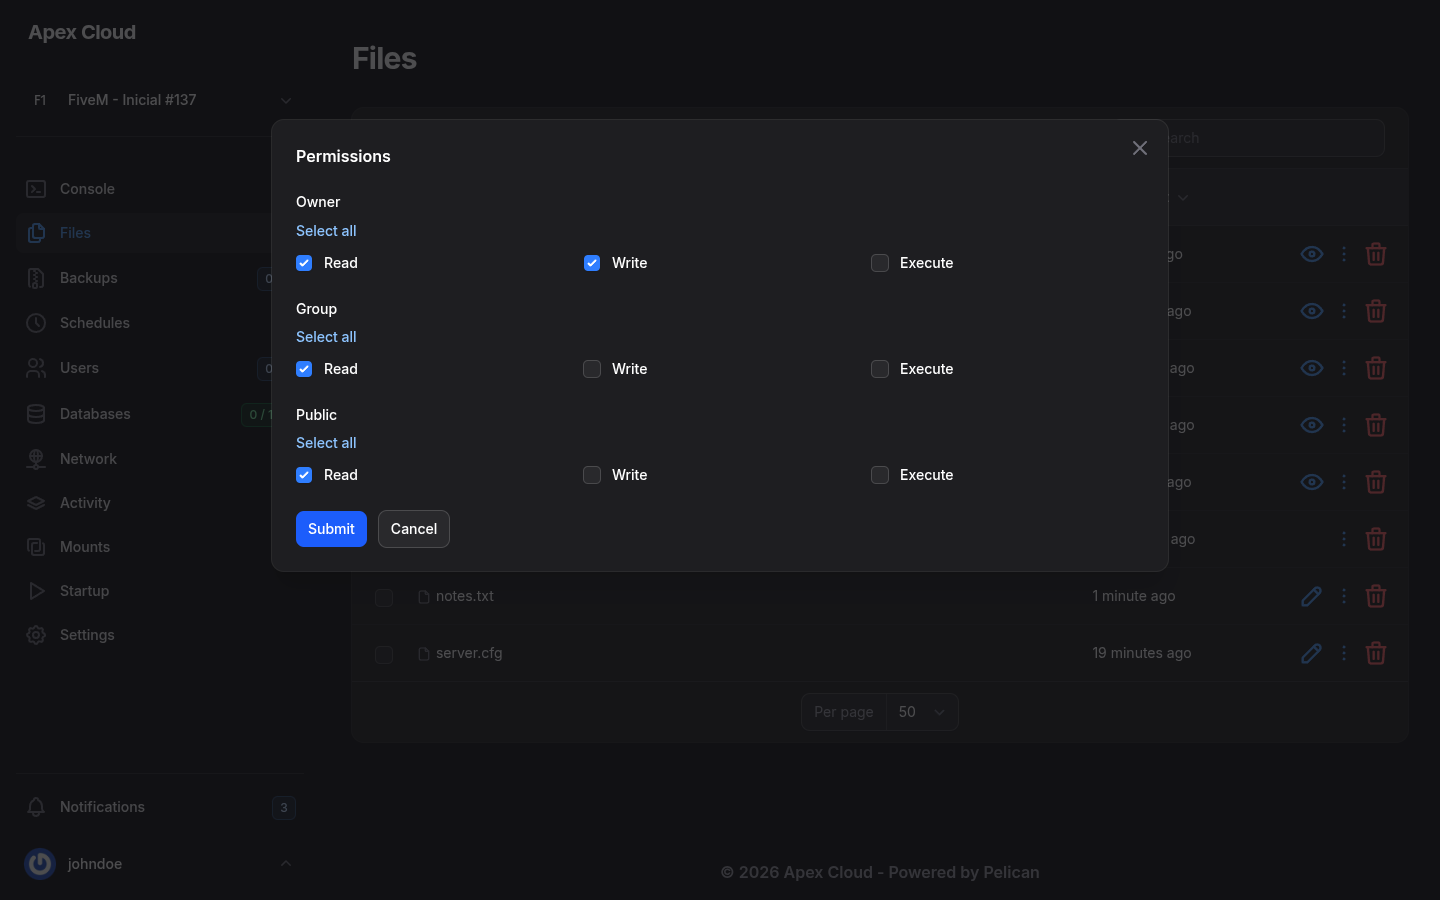
You rarely need this. The usual case is a script that must be executable: tick Execute for Owner.
Bulk actions
Tick the boxes at the start of several rows. A Bulk actions button appears at the top left with Move, Archive and Delete selected. Select all and Deselect all appear at the right of the counter.
Deleting cannot be undone
Deleting asks for confirmation (Are you sure you would like to do this?), but there is no recycle bin. Take a backup first if you are not sure.
What each permission allows
If you share the server, the File group of Users separates seeing the list of files (Read) from reading or downloading their content (Read Content), creating, updating, deleting, archiving and using SFTP.