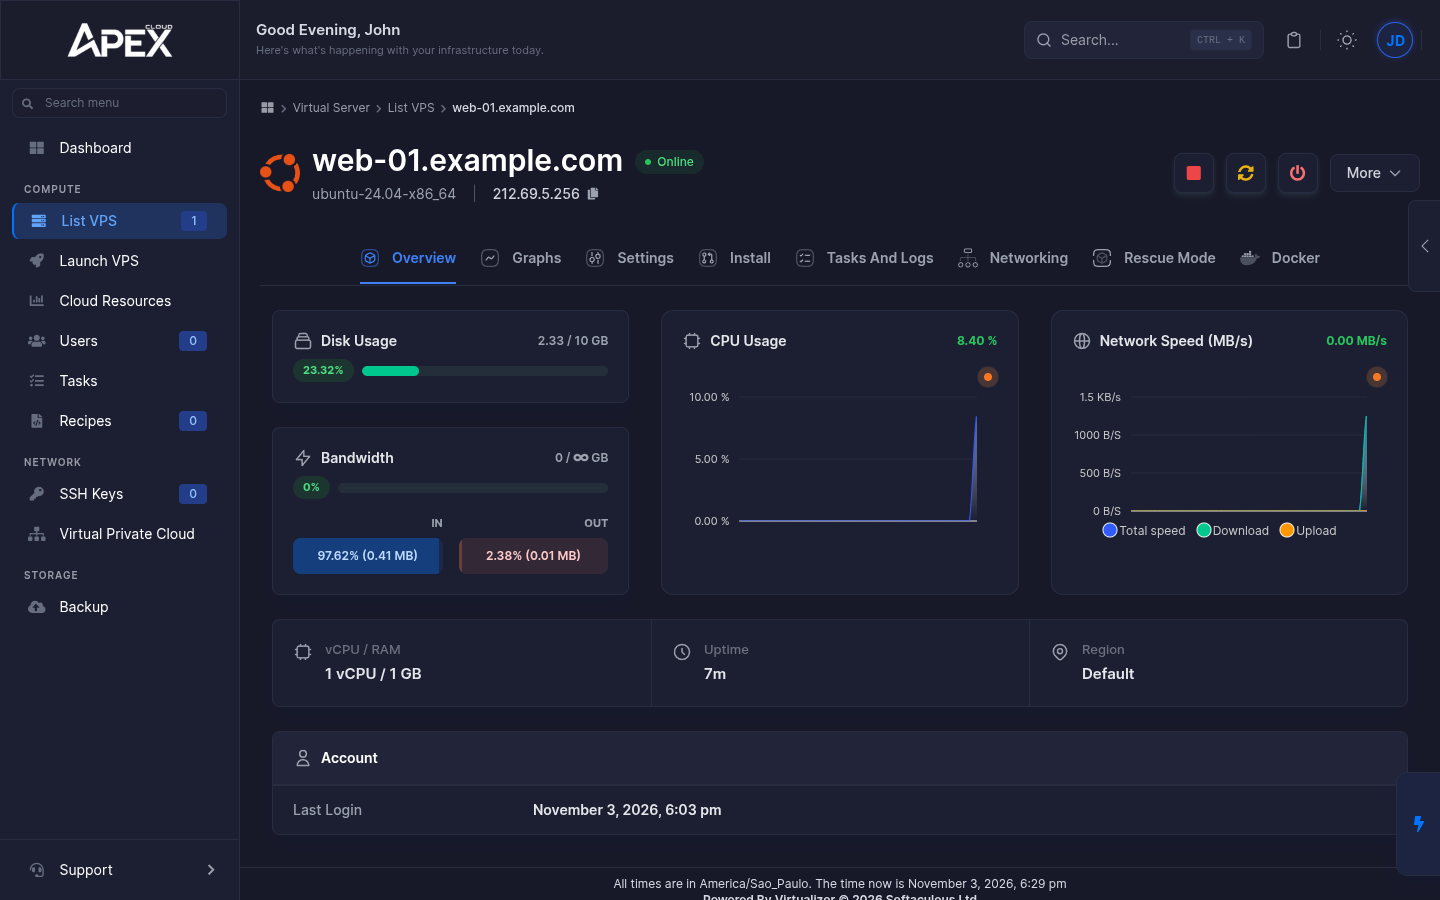
Manage, Resize and Delete a VPS
Control your servers from List VPS, resize them or change their owner with Edit VPS, and suspend or delete them.
In a Cloud account, List VPS shows every server in your pool, and each row has more buttons than on a normal VPS account. You can control power, resize, reassign, suspend and delete.
List VPS
Open List VPS under Compute. If your browser window is narrow, scroll the table sideways to reach the buttons at the end of each row.
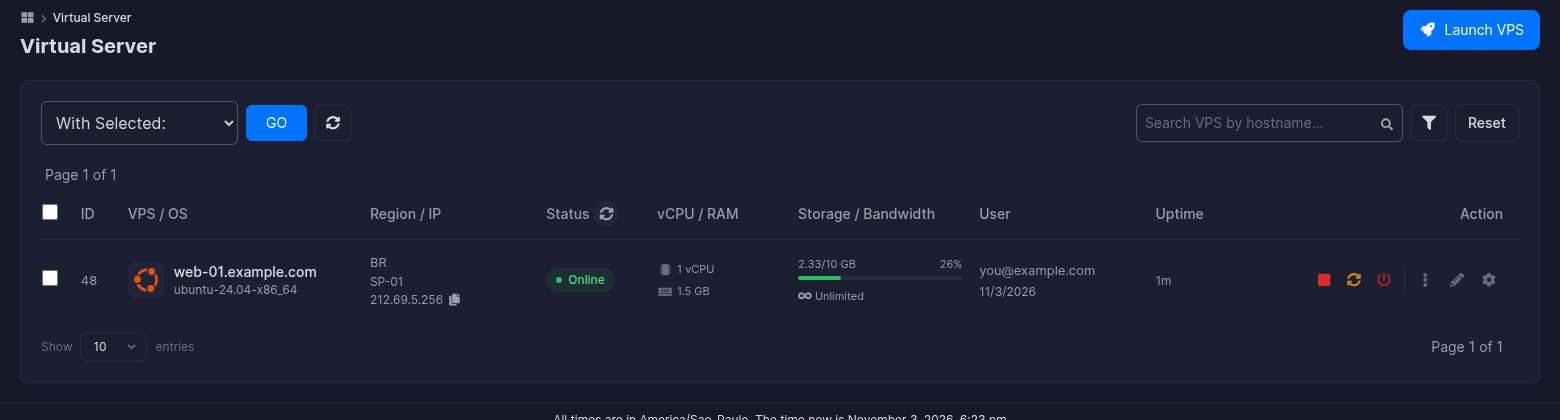
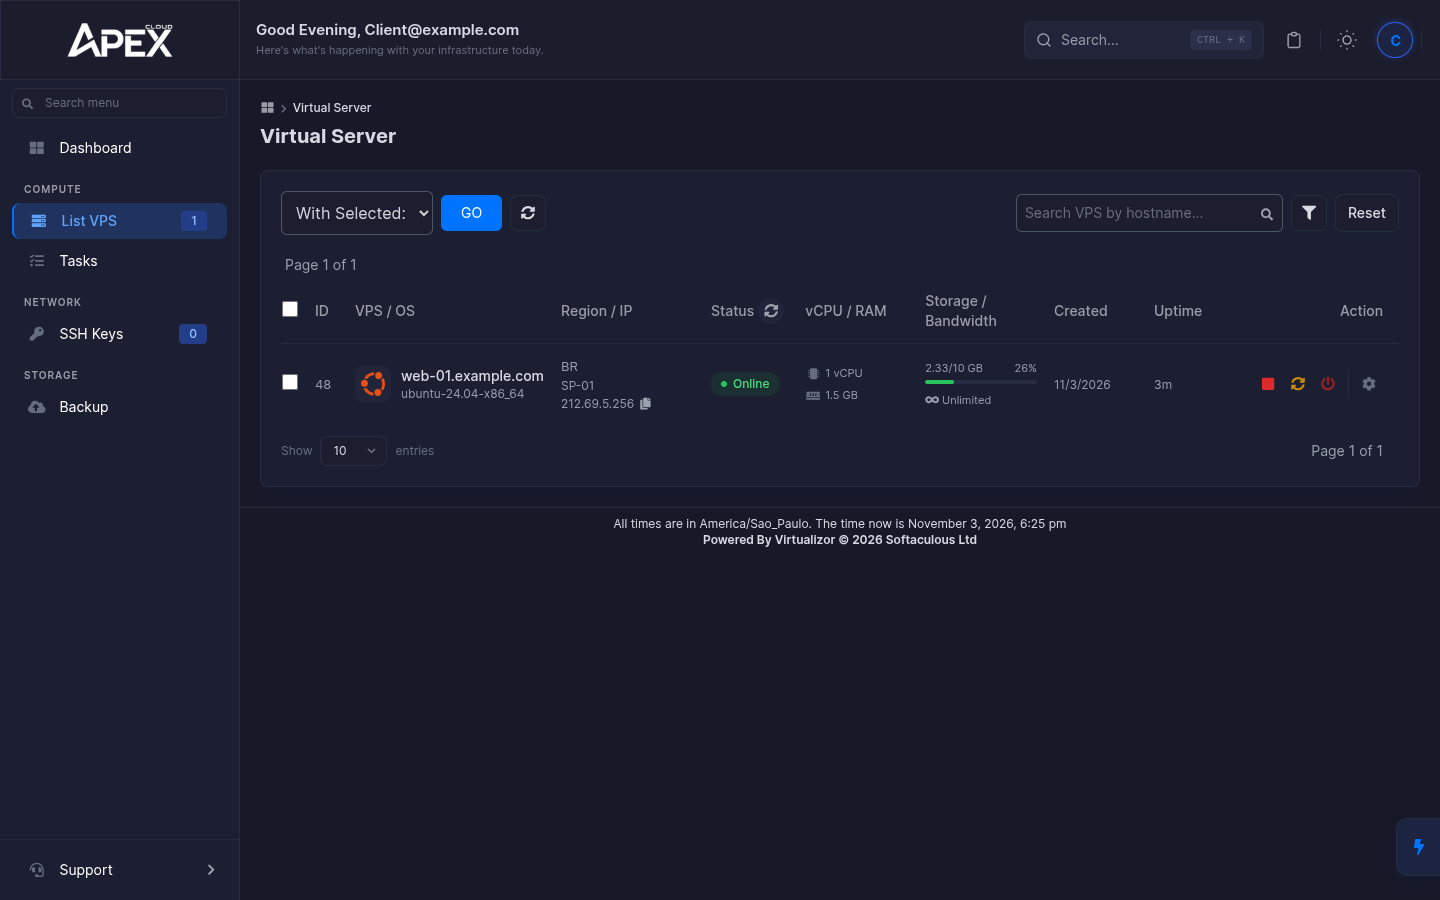
Compared with a normal account, the table has a User column with the owner of each server. The buttons at the end of a row are:
| Button | What it does |
|---|---|
| Stop, Restart, Power off | Power controls. When the server is off, a play button (Start VPS) replaces them. |
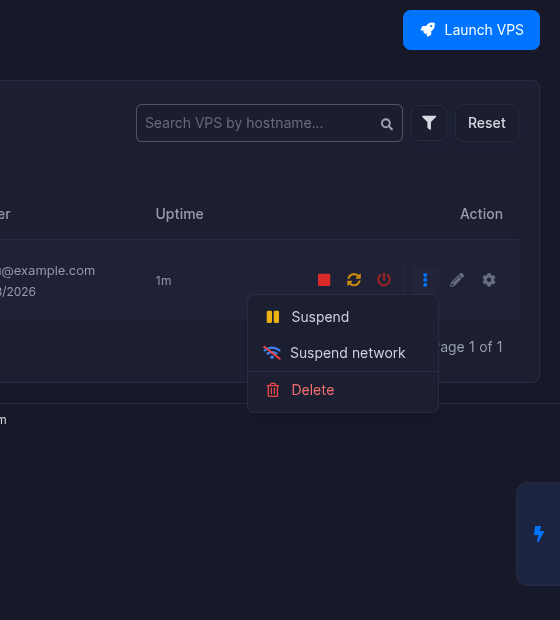
| Three dots | Opens a menu with Suspend, Suspend network and Delete. |
| Pencil (Edit VPS) | Opens the Edit VPS page to resize the server or change its owner. |
| Cog (Manage) | Opens the management page: graphs, settings, reinstall, rescue mode. See Control Panel. |
Use the search box to find a server by hostname, and Reset to clear the search. To act on several servers, tick their boxes and choose from With Selected: Start, Stop, Restart, Power Off, Suspend, Unsuspend, Suspend Network, Unsuspend Network or Delete, then click GO.
With Selected acts on every ticked server
Choosing Delete from With Selected targets all the servers you ticked. Double-check the ticked rows before you click GO.
Edit a VPS
Edit VPS changes a server's size and details without reinstalling it.
Open Edit VPS
In List VPS, click the pencil icon at the end of the server's row.
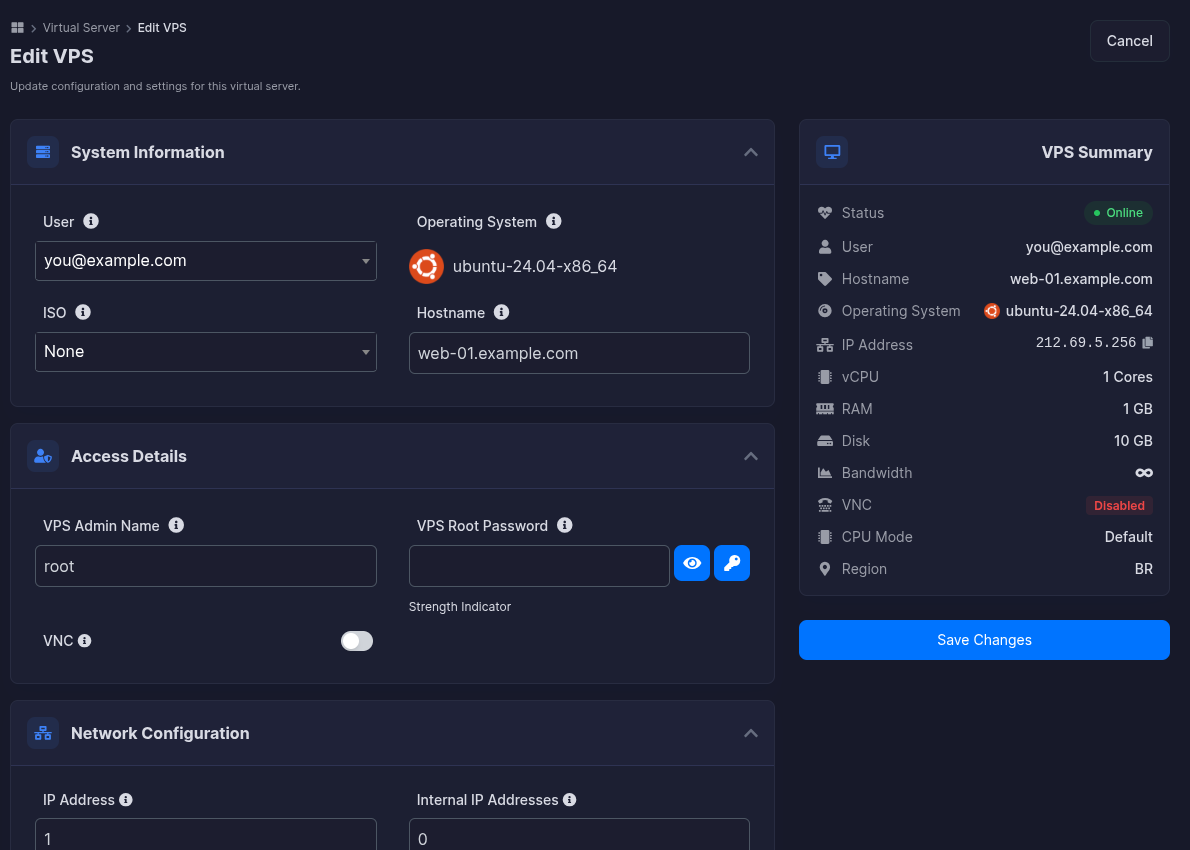
The right side shows a VPS Summary with the status, owner, hostname, OS, IP address, vCPU, RAM, disk and bandwidth. The sections on the left open and close when you click their titles.
Change what you need
- System Information: the owner (User), an ISO to attach and the Hostname. The OS is shown for reference.
- Access Details: the VPS Admin Name, a new VPS Root Password and a VNC switch.
- Network Configuration: the number of IP Address, Internal IP Addresses, IPv6 Subnet and IPv6 Addresses.
- Resource Allocation: Disk Space, Guaranteed RAM, Burstable RAM, Swap RAM, Bandwidth and CPU Cores.
- Advanced Options: CPU mode and topology, networking and disk settings.
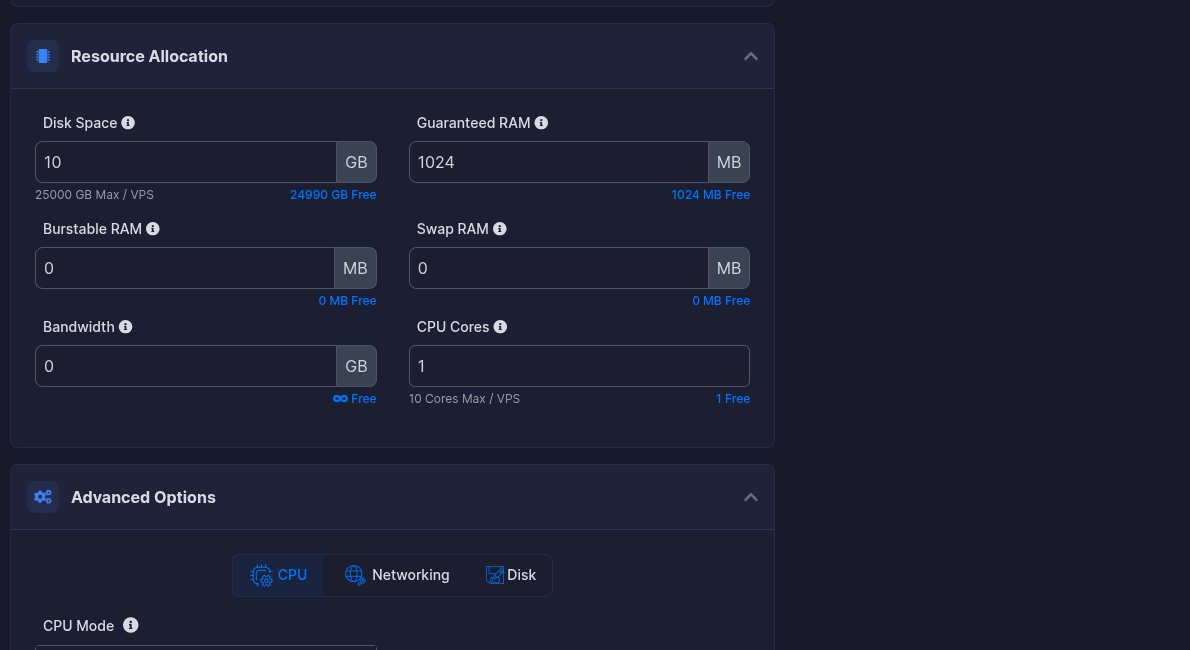
Under each size field you see how much of your pool is Free, and the Max / VPS where a per-server limit exists. You cannot go above either.
Save
Click Save Changes. The panel shows The Virtual Server has been successfully edited and returns to List VPS, where the new size is shown. Cloud Resources updates as well, so you can see the pool change.
The note at the bottom of the page says that some changes may require a restart. If a change does not show up inside the server, restart it.
Back up before you resize the disk
Take your own copy of important data before you change Disk Space. See Backups.
Give a server to one of your users
The User field in System Information is the owner. Choose one of your users and click Save Changes, and the server shows that user in the User column of List VPS. To take it back, set User to your own login again.
The user then sees the server in their own List VPS and can stop, restart, power it off and open the management page. They do not get the pencil, the three-dot menu or Launch VPS, so they cannot resize or delete it.
Suspend a server
Open the three-dot menu and choose Suspend to suspend the server, or Suspend network to cut only its network. They are also available from the Manage page under More. Unsuspend and Unsuspend Network reverse them, from With Selected.
Delete a server
Choose Delete
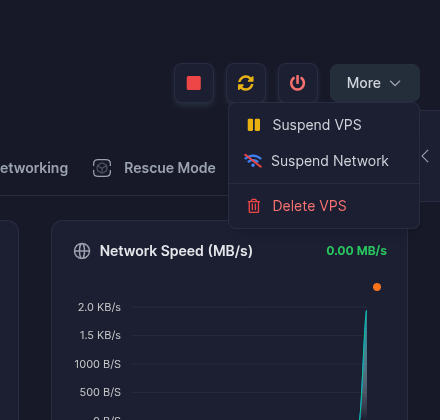
In List VPS, open the three-dot menu and click Delete. On the Manage page, click More, then Delete VPS.
Type the hostname to confirm
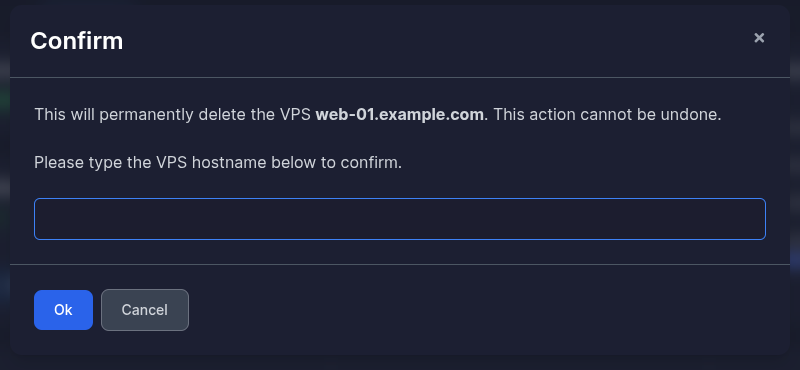
The panel says that the VPS will be permanently deleted and cannot be undone, and asks you to type the hostname. Type it exactly and click Ok.
Once the server is gone, its data cannot be recovered. Check Cloud Resources afterwards to see the capacity available again for a new server.
Other server tasks
The Manage page has the same tabs as on a normal VPS, and these tasks work the same way: